Monday, December 29, 2014

A Place for Blankets

 My dear friends Ziggy and April have returned back home to Berea, Kentucky tonight. Although the shop is quiet and lonely now I can't help but smile when I think of what we accomplished the last few weeks. A shaker blanket chest is no easy project even for the seasoned woodworker. Ziggy and April with their never ending energy made this look easy and they have never cut dovetails before. I knew what they were capable of so when Ziggy asked if they could make one I did not hesitate. So they went to work breaking down boards of beautiful wide curly cherry. 

 I always cut pins first but I showed them how to cut tails first. I think for wide case pieces this just seems better. Ziggy would saw and cut one end and April would do the other.
 There is a lot of dovetails on a blanket chest. Ziggy made fast accurate work with the western style dovetail saw.
 I was really impressed with their work and how accurate they were. I still don't know who did a better job but who am I to judge.
 The glue up of the case went well. Lots of hyde glue and constant motion.
 Lots of clamps and a dead blow hammer found the case bound together for eternity.
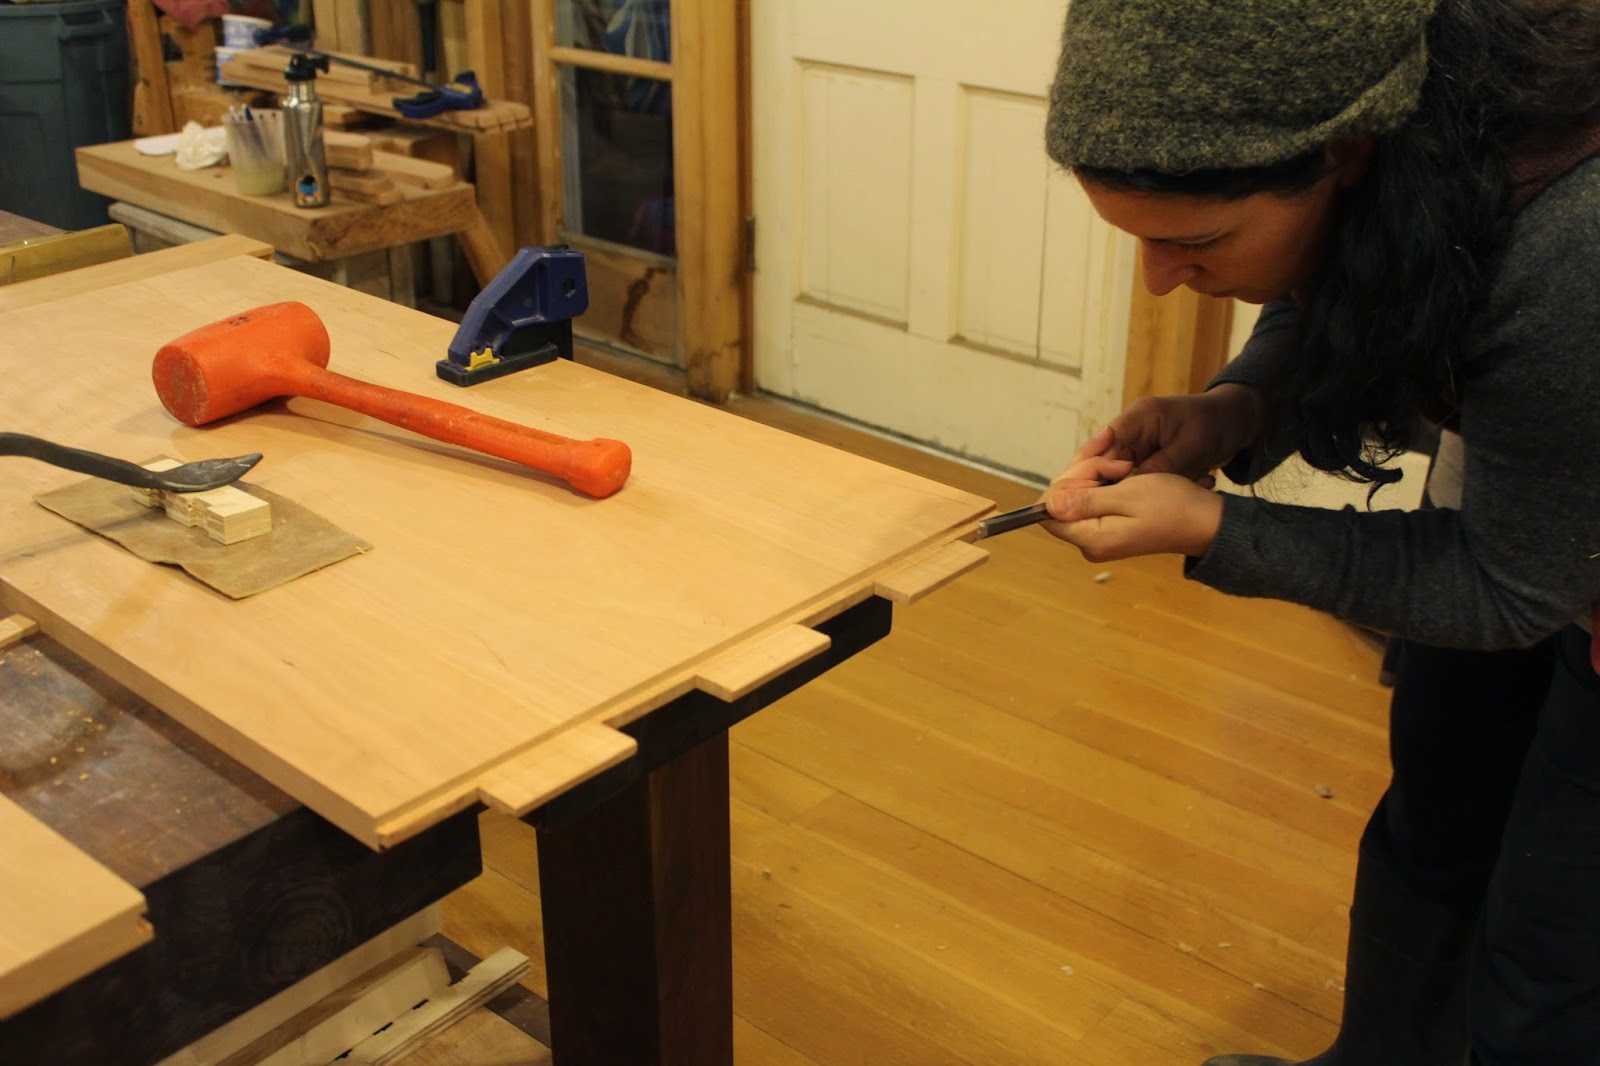
 April tuning up the tenons on the top for the bread board ends. We had a discussion why they call them "bread board ends" does anyone know this? We did not.
 Fits like a glove. No glue on this puppy. Seasonal wood movement must take place here. Pegs only.
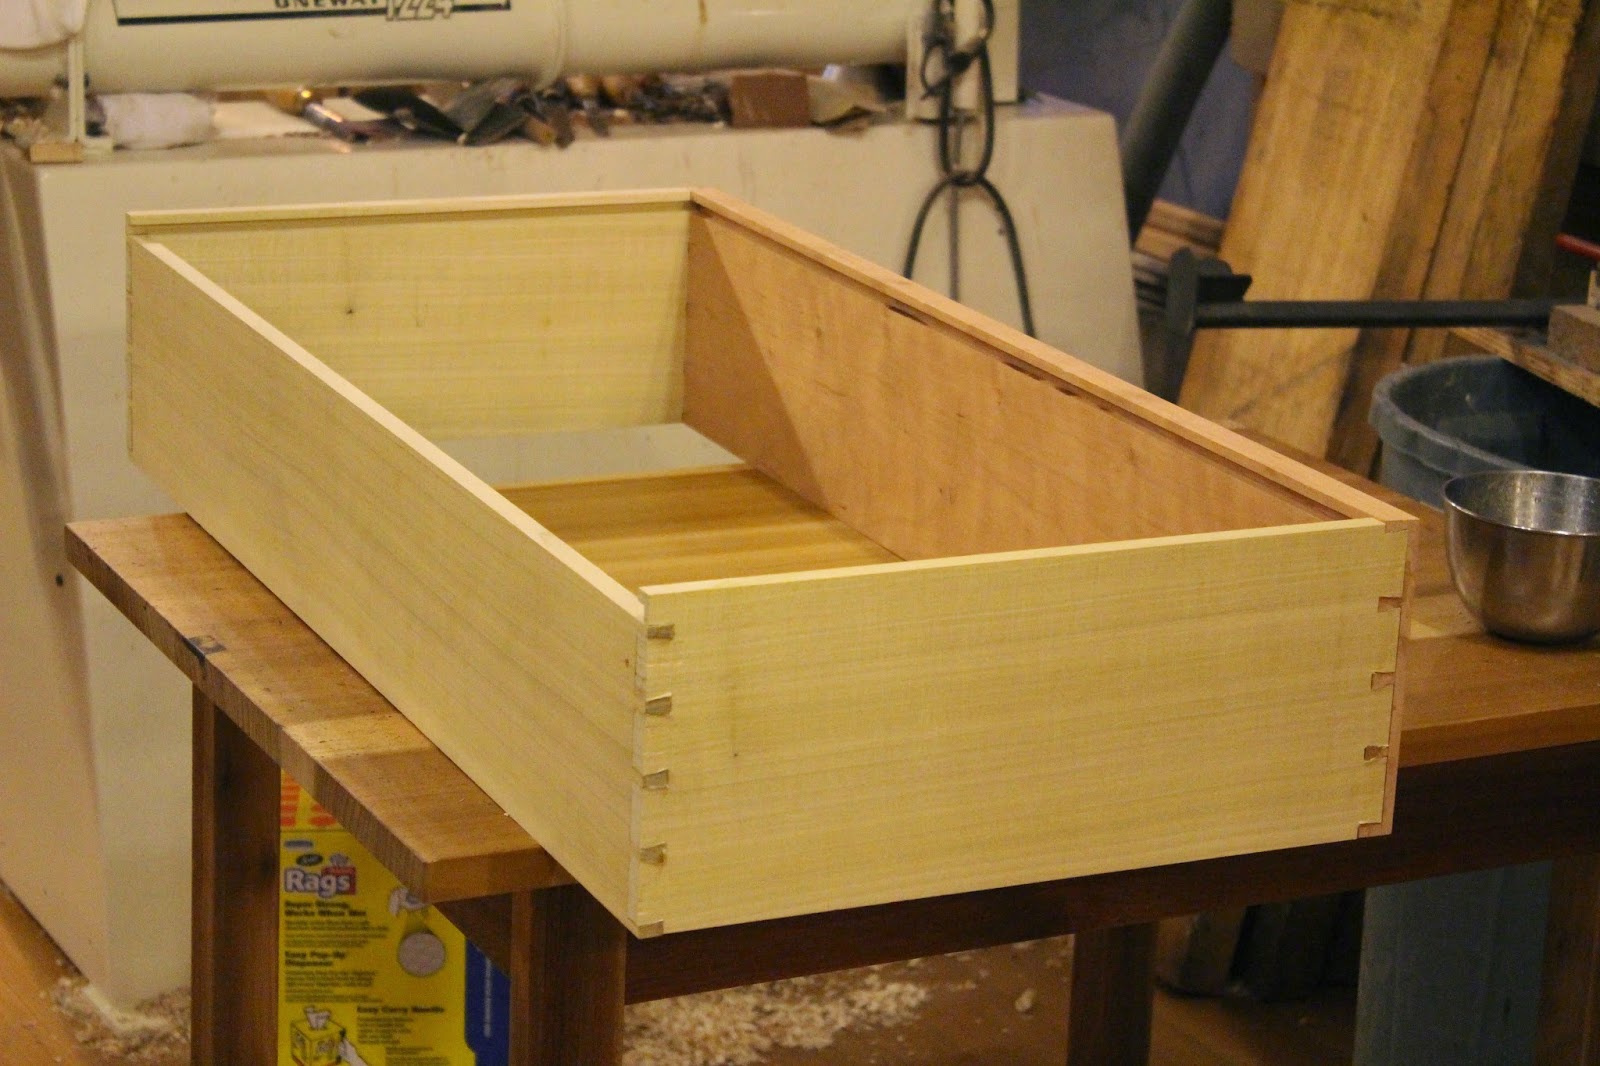
 More dovetails on the drawer. What great practice with all these dovetails. Can you imagine how fast the shakers could chop these out? Do you think they enjoyed it as much as we do now?
 April fitting the moulding around the base. This is the only embellishment on the whole piece but it does a lot to bring it all together.
 Ziggy could not wait to oil the case even if it meant smelling the oil all the way back home. I'm so glad he did because what a treat to see the grain come alive. We used the linseed, varnish, thinner mixture that I use on my chairs.
 Rubbing out the final coat.
 April turned a couple of knobs while the oil was going on. These are mounted to the drawer with a 3/8'' tenon split and wedged through the back.
 Red cedar lines the bottom of inside the case. Love the smell of cedar. No oil in here.
 If this doesn't fire you up to make a blanket chest then I can't help you.
 This is cherry at its best.
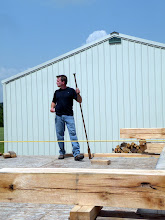
 This is Ziggy and April at their best. I am so proud of them and what they were able to accomplish.
 I almost forgot to mention that April finished her spinning wheel and is ready to spin some wool. I meant to get a video of it in action but time ran out. Can't wait for those socks!!

Monday, December 22, 2014

The Heart of Music City

The last couple of weeks have been very exciting here in the shop. My friends from Berea, Ky. April and Ziggy have been staying with me along with a very talented friend of theirs. If you recall last year April built a spinning wheel. More on that later. First I'd like you to meet Jacob. He built the banjo that he's playing below. This is not a kit but a high end banjo built from scratch. Not only that but he built two banjos.
 I quickly learned that Jacob is a rare and talented individual. These were his first banjos and watching them come together was a great treat. I learned a great deal about how intricate and perfect everything must be for a banjo to be born.
 He used some nice maple burl on the top. He sawed and dried it himself. Aircraft aluminum is imbedded into the neck for strength. Everything must be aligned perfectly.
 Not only a true luthier, Jacob is an accomplished violinist as well as a timber framer.
 He lapped the body to the neck using sandpaper wrapped on the body. Did I mention alignment is critical.
 After the frets are pressed in and filed, the bridges are contructed. Lots of custom shaping by hand.
 Towards the end of the week and the banjo is ready for strings. Oh how we have all waited for this moment.
 Here is Jacob playing his first banjo and it sounded really great. I was truly honored to host such an incredible feat. This was a first for us here at "Around the Shop"

Friday, December 5, 2014

2015 Class Schedule


 Classes are coming along but have not sold out so I thought I would post this again. Look for weekend  live edge bench classes later 2015. Also don't forget to come see me at "Handworks" in Amana, Iowa in May. I will also be teaching at Kelly Mehler School of Woodworking in June.

Here are the classes scheduled for 2015. All classes include materials and lunch everyday. A tool list will be supplied to you when you sign up for a class. The turnings will be supplied but instruction on turning will be given in class. I can have up to 4 students per class. I may add some weekend classes in the near future on stools and benches.

Jan. 12-17    Sack back $1000

Feb. 9-14 Continuous arm $1000

March 2-7 Comb back $1000

April 6-11 Sack back $1000

July 27-31 Fan back $1000

Aug 10-15 Continuous arm $1000

Sept. 14-19 Comb back rocker $1200

Oct. 12-16 Hoop back $1000

Nov. 7-14 Writing arm $1650

Dec. 7th-12th Sack Back $1000


Tuesday, December 2, 2014

The Sounds of the Saw

Several years ago I ran across a very nice cross cut saw at a flea market in Nashville, Tn. I bought it to mount to my shop wall to remember how things were once done years ago. I never considered using it until my friend John Watson brought his friends by to see the shop. Bill and Dena who live in Missoula, Montana were visiting Nashville for a convention. They really liked the saw and actually use saws like this to harvest their firewood at the hunting camps. I hated to see it go but I knew the saw would be used for what it was intended. The saw was in such good shape, very sharp and ready to work that it was hard to understand that it was over a 100 years old. They made this short video to show me the saw in action. I love the sound that it makes and realized I had never heard one working before.


The etching is still visible on the saw. When I bought it it was still packed in oil to protect the metal.
Here is the firewood they cut with it. I'm glad the saw has a new home and I have plenty of old rusty saws to mount on the wall in its place.
 Here is a follow up on the maple logs I worked up for turnings. I ended up with enough maple rounds from two logs to complete about 31 chairs. Hard to believe that this will only last me several months.

Wednesday, November 19, 2014

Behind Every Good Chair is Some Really Good Wood

After a long chair class it's good to get out of the shop and build up the material stash. Sometimes it seems I spend half my time looking for chair materials and the best logs. Late fall is the best time to head to my favorite log yard in Kentucky. It was a good day. I found 2 sugar maple logs that would make any respectable wood turner blush. I love these 15'' diameter 12' long logs that are white to the center. Very little taper (if any) and straight enough to saw on the mill.

 Maple log #2. These make me so happy!
 After unloading the maple I cut them into 6' lengths to make milling down the pith easier.
 Six 8/4 boards from one half of the log of some of the clearest material I have had in a while.
 Maple this clear should be illegal. I hope I can do this log justice. I have many turnings to complete.
 If the maple wasn't enough I scored an 8' white oak for only $10 because it had several nails in it. My splitting wedge does not care. Great spindle material. I can even re-use the nails in some ladder back chairs or something....haha
 I also picked up this nice white oak at full price. $1 bd ft. I think it was about $75
 As much as I love local hardwoods sometimes I have to travel to get material. Last month I made the trip to the upper peninsula on Lake Michigan to buy some 8/4 pine for seat blanks. Almost every board was 20'' wide and clear for 10'. I've never seen pine like that around here in the south. The pine here grows too fast and carves too spongy. It also has a lot of sap. These boards after air drying should be fun to carve.
 I had a heavy load on a 20' trailer. Kim and Logan tagged along but 48 hours from middle Tennessee to Escanaba Michigan and back (in 2 days) was no vacation. Saw lots of stuff out the windshield but that was it. I wish someone had told me to avoid the $16 toll fee through Chicago. Overall it was a good trip and I should have plenty of seat material after these dry.

Tuesday, November 18, 2014

Writing Arm Class part 2

Day 5 begins with drilling the arm and seat for spindles.  Yes we use lasers for this but only in one plane. We simply sight over the arm centered over the spindle deck to line up. Works really well.

 Spindles go in one at a time after careful sizing to the seat, arm and crest rail. The spindle hole through the arm is tapered from underneath and securely matches each spindle.
 Spindles installed waiting for the arm rail.
 Now the fun begins fitting the writing tablet to the chair. It slips over the last spindle and is routed underneath to fit over the arm rail. The two arm post hold the tablet level. This process went very smooth with great results.
 Day 6 and John has the tablet installed.
 Two wedges in the post.
 Martin installs his tablet beginning day 7.
 Fits like a glove.
 A few clamps to set the hyde glue and we are ready for the crest.
 Nice! Two writing arms complete. Ready for some drawers.
 The last day consisted of laying out and chopping dovetails. They insisted on cutting the tails first even though this is wrong. Ha Ha!
 It rained all day which is great for sitting down and chopping dovetails. These guys did great.
 John's completed chair with two dovetailed drawers. The upper drawer is curved to match the tablet. Notice the turned ebony knobs.
 Martin, myself, and John after a long 8 day class. Martin told me everyday how much he enjoyed the class and I feel like we accomplished a lot. Although we were tired we really had fun.
If this looks like something you want to try I am offering the same class again next November. Check out the 2015 schedule and sign up for one of 4 spots in this class. Good luck!