One of the best tools we have is our hands. Sometimes I take them for granted and forget that they cannot be replaced. Recently I learned that one of my friends working on a timber frame structure had pinched off the end of his finger while a dovetail joint fell together unexpected. Even the wood itself can be dangerous, not just the tools. Sometimes you can do everything right and stuff just goes wrong. I know my friend will be ok and keep on working wood but I sure hate to hear such stories.
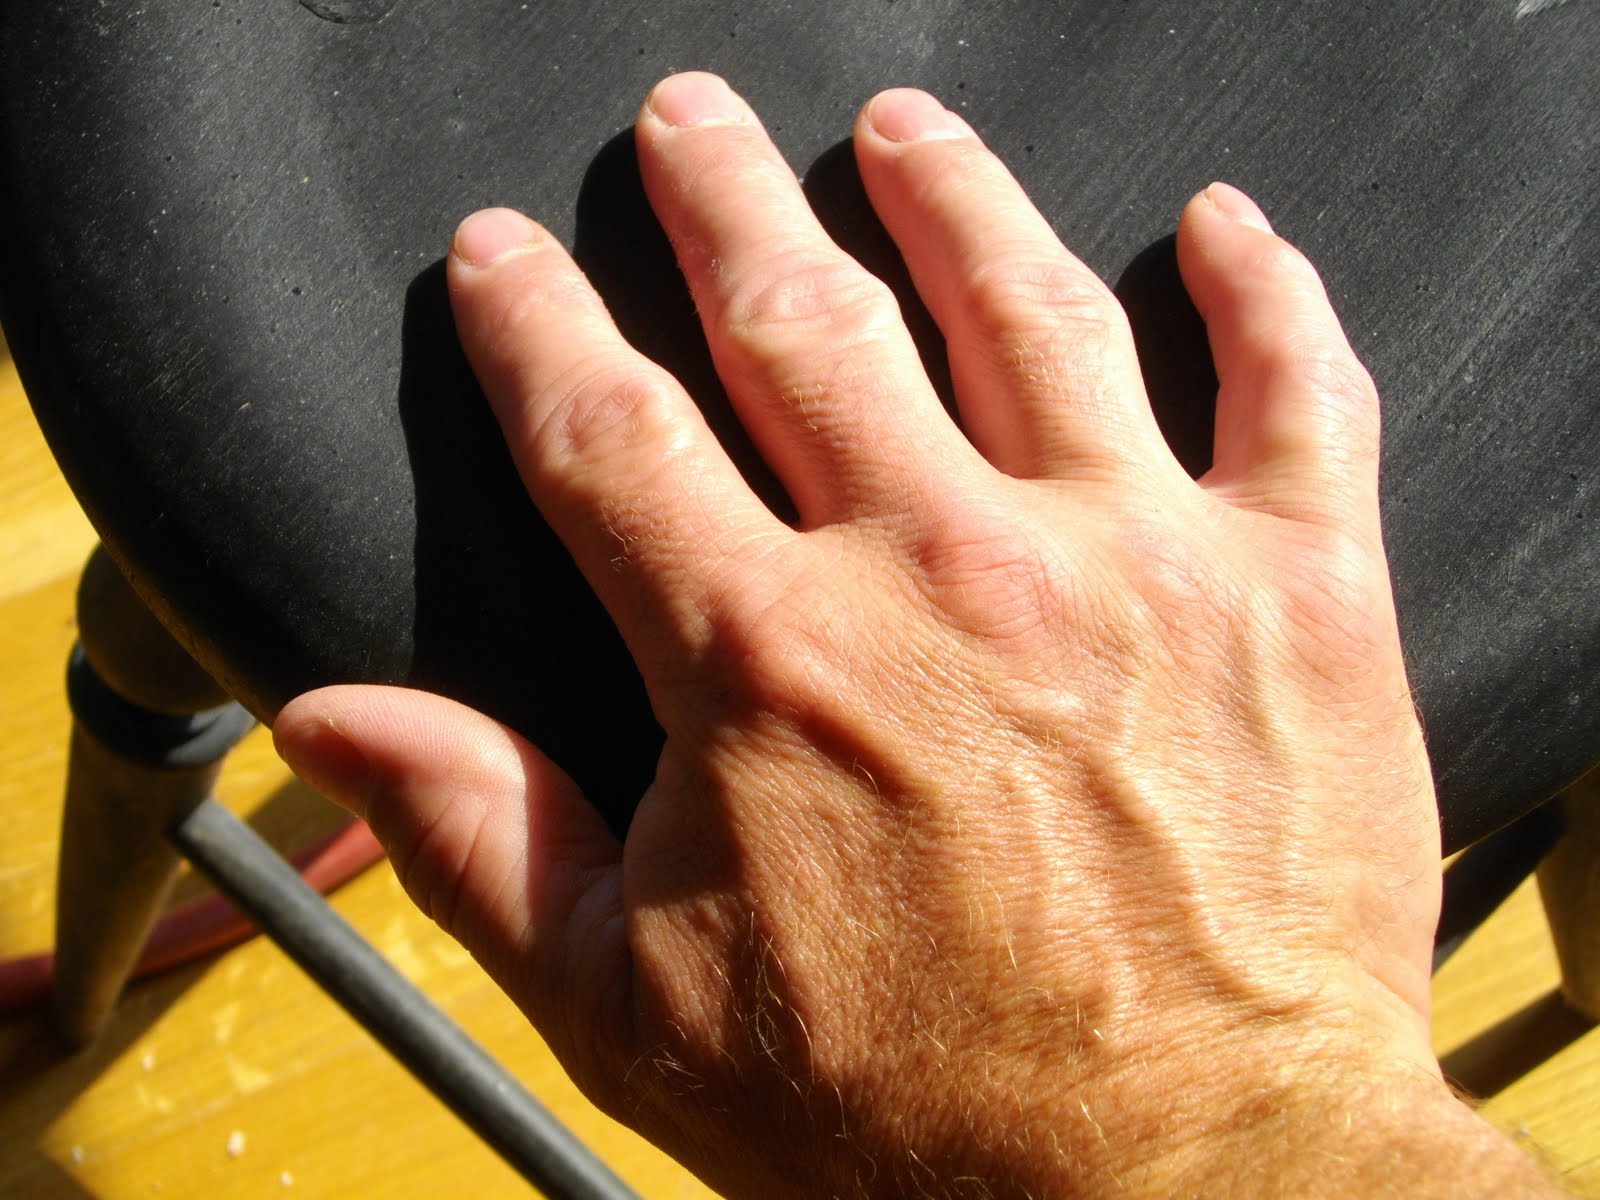
This is my hand below. Nothing fancy, just a hand. To make this tool as efficient as I can it needs to have strength, a strong heart and lungs for support as well as good nutrition. To do this I try to excercise and eat right. Not always easy but letting myself fall apart would be as bad or worse as never sharpening my tools.

Today I glued up the Bird Cage chair I started at Curtis' shop. We never went over the details for completing this chair before I left. It was an adventure to say the least but over all was succesful. I still need to glue the top rail and carve the false miter. I have done this before so maybe tommorrow I'll be ready for paint. This has to be one of the more complicated chairs to make but the challenge has been great fun. I learned so much with this chair and look forward to evolving designs based on this style. And oh is it comfortable!

Recently I completed the loft which allowed me to move lots of stuff off the main floor. Then I finished the sharpening station cabinet with the recycled granite top. You can see it behind the Bird Cage chair. I have built lots of cabinets based on shaker style. I love the simple lines which shows off the cherry really well. I had fun making boxes for a change but have really enjoyed getting back to chairs. The shop is now starting to get that familiar, comfortable feeling which allows me to work more organized and focused on the task.
Soon I will show the Bird Cage chair complete. Now if I can just figure out where to put the birds.
 I haven't coompletey decided on a color scheme yet for this chair. With all the gutters carved in the seat and v-grooves on the turnings I know I will accent these in some way. Stay tuned.
 Recently I completed the loft which allowed me to move lots of stuff off the main floor. Then I finished the sharpening station cabinet with the recycled granite top. You can see it behind the Bird Cage chair. I have built lots of cabinets based on shaker style. I love the simple lines which shows off the cherry really well. I had fun making boxes for a change but have really enjoyed getting back to chairs. The shop is now starting to get that familiar, comfortable feeling which allows me to work more organized and focused on the task.

 I framed in an attic pull down ladder to access the loft. This kept a staircase from eating up shop space.
 After all the joist were in place I nailed down tongue and groove bead board and then plywood flooring on top of that to make a strong floor for storage. The bead board is mainly for looks and it was cheap. I found the stuff at the Habitat for Humanity store in Nashville and bought all thay had.
 I now have plenty of space to store all the clutter out of the way. There is room to add another loft on the other end of the shop but that can wait til winter.